This lab session started out with us learning to use the bevel tool & such.
No difficulty there. It was easy with the step by step video instructions.
Fairly easy. Just had to split it in half.

Then following the given instructions, I turned the rectangle into a triangle block.

Then following the given instructions, I turned the rectangle into a triangle block.
& apparently, i didn't bother using the align tool since the result is the same when i can change the axis values.

After creating the hole in the block, i proceeded to bevel the edges.

After creating the hole in the block, i proceeded to bevel the edges.
I took a little more time selecting those edges though, because i kept selecting other edges that were not needed. & apparently, i release the Shift key by accident then had to reselect everything again.
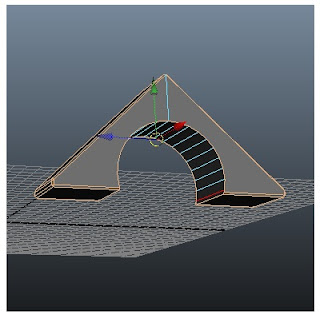
Here's the 2 simple blocks that i finished forming. :D
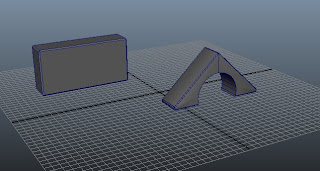
Next we had to create another polygon cube.

Here's the 2 simple blocks that i finished forming. :D

Next we had to create another polygon cube.
This was easy after learning how to do it making the first block.

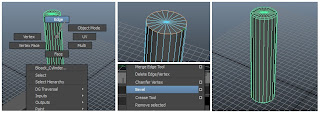
This was fairly simple as well. Just that i accidentally selected the entire cylinder at first: BEVEL FAIL. The edges were not even smooth. But then i corrected my error.
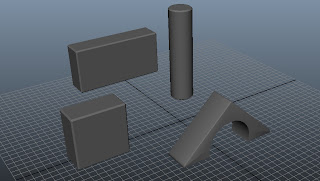
& here's all the finished blocks!

This was fairly simple as well. Just that i accidentally selected the entire cylinder at first: BEVEL FAIL. The edges were not even smooth. But then i corrected my error.

& here's all the finished blocks!

Ex2:
After learning about how to create toy blocks in Ex1, it was much easier to form the toy train. It took a while at some point, but overall, i feel that this was pretty easy.
So first i started by creating the base of the the train's cart.
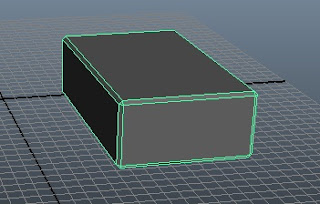
Then i duplicated the first block i created, then resized it to fit into the center of the first block.
As shown in the image below.

Moving on, i created the a cube that was to be placed in the cart.
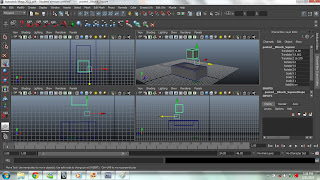
Duplicated & moved them into place.
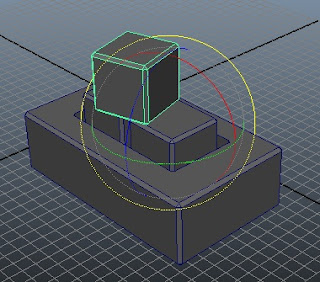
Then i created the wheel, using a cylinder & the bevel tool.

Moving on, i created the a cube that was to be placed in the cart.

Duplicated & moved them into place.

Then i created the wheel, using a cylinder & the bevel tool.
Duplicated the cylinder thrice, to create the remaining wheels & moved them into place.

I proceeded to create the front engine of the train by first making a new rectangle block.

I proceeded to create the front engine of the train by first making a new rectangle block.
Then duplicated the wheels from the previous cart & simply moved them into place.

After that, i created another 2 blocks.

After that, i created another 2 blocks.
One of them seemed like there was no need for the bevel tool though.
The other had to be split into sections so i could edit it's individual vertices.
& i found this quite simple after learning this in the previous exercise/videos.
This definitely took a while because i kept moving the wrong vertices.
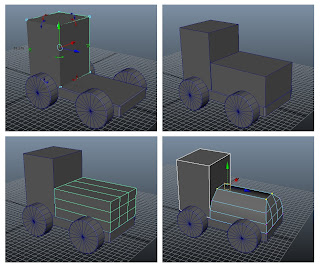
So with the basic shape of the engine done.

So with the basic shape of the engine done.
I continued by creating the windows.
(I'm not sure if i am supposed to actually let the cylinders go all the way through the cube though)

I then moved on to creating the roof of the engine cabin by creating a rectangular block & splitting up into sections, again, to edit the individual vertices.

Now, with the main bodies of the train done.

I then moved on to creating the roof of the engine cabin by creating a rectangular block & splitting up into sections, again, to edit the individual vertices.

Now, with the main bodies of the train done.
I moved on to making the chain that connects the two separate bodies of the train.
(i actually didn't realise the chain until i zoomed in the image given)
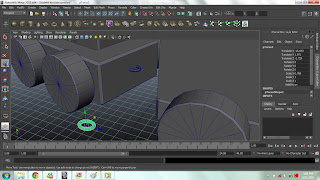
This part of was little less easy because I had to move & rotate the individual torus polygons to form the chain. Had to zoom in for a little more precision.
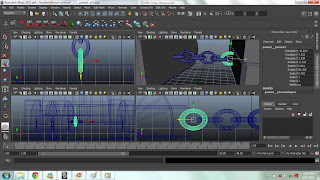
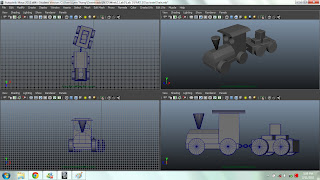
After adding the cone, here's the finished toy train!
Some parts don't exactly have smooth edges though.
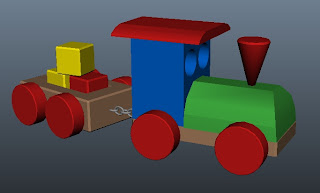
But i tried adding colour.
Though am still not sure how to add proper textures yet.
Reflection - Overall, for this week's lab exercises, I think that it was fairly easy.
Up till now, I found 3D modelling fun & interesting.
The lab exercises given were easy. Especially with instructions/step-by-step video tutorials. They were easy to follow.


