Wednesday, November 9, 2011

Week3 Lab1: Bucket Modelling & Vase

Exercise1:
So i actually did this halfway & THEN the announcement that this exercise suddenly became OPTIONAL appeared. Since i'm already halfway through, i figured i might as well finish it.


I was desperately looking around for the help menu thingy, & finally saw it down here like, after 10minutes of hunting.


& here's the finished bucket. I added colour.


Reflection for Ex1:
This exercise proved to be fairly difficult because the instructions given in the pdf file weren't exactly understandable 100%. With the version difference, it just makes the instructions way more confusing.
Especially the part where it gave this image of a bunch of lines (it didn't specify if it was front or side view, so i randomly picked either one) & instructed to "USE THIS IMAGE FOR INSPIRATION". I don't get it.
So i just sat in front of my laptop & tried to create the handle on my own.
Ended up getting whatever is shown in the images above.
Looks good to me. (This became optional anyway)
So, there. Done.


Exercise2:
Here's the vase i completed as well.
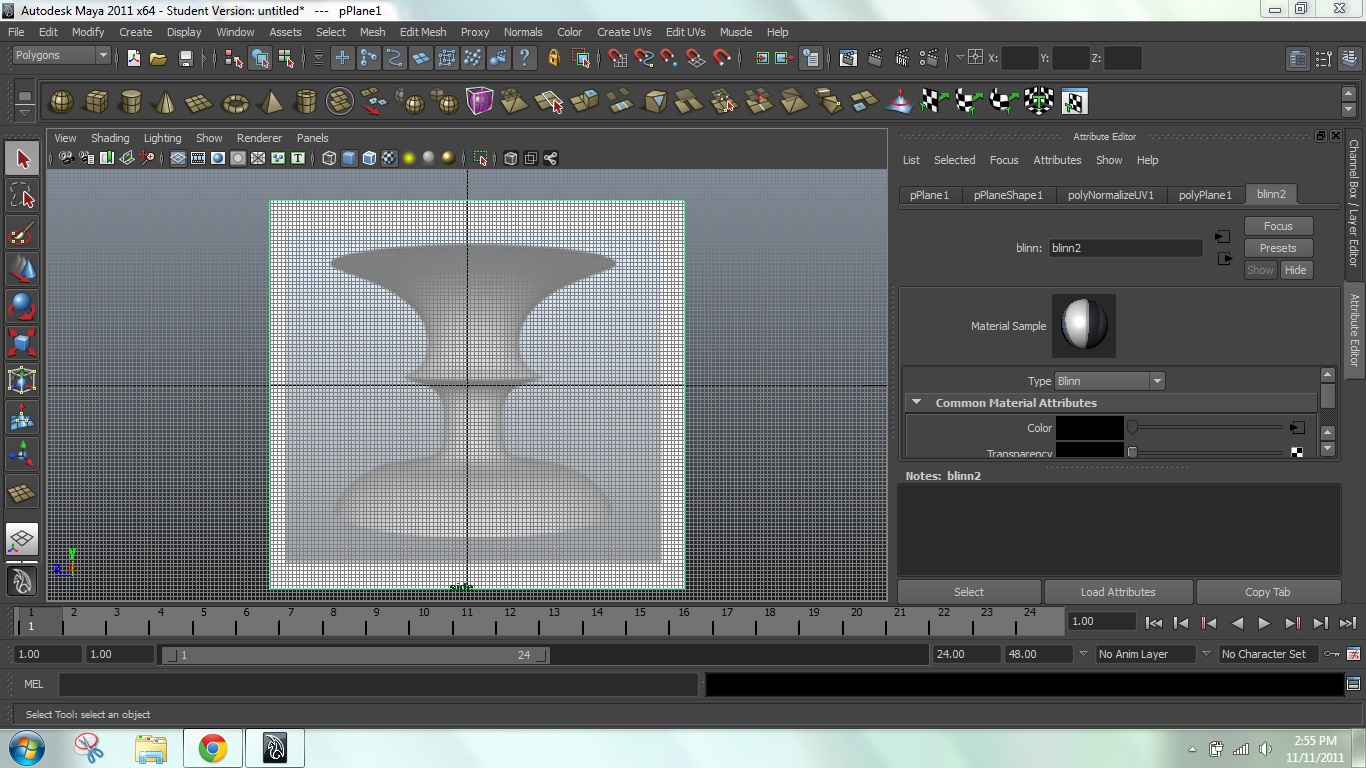


I added colour to it.


Reflection for Ex2:
To create the shape of the vase, i decided to take a screenshot of the image given in the word document & use it as a texture file on a polygon plane (similar to Ex1). Making it easier to follow, so my vase won't be out of shape.

Sunday, November 6, 2011

Week2 Lab2: Cardboard Box Modelling

Ex1:
So i started out creating the cube with the given measurements & then split it up into sections.


Then moved the edges to form the thickness of the box.


Pushed the centre face downwards to create the interior.


Created the flaps by following the instructions to extrude the top edge faces.
Then selected the flaps to bend outwards to create the look of an open box.


At first the flaps were horribly distorted, but i fixed it.


& here, i just randomly bent the vertices to give the box a crumpled look.
(though with little success in the end, i believe)


See. It doesn't really look like the given image sample.


Reflection for Ex1- This exercise was pretty difficult for me because the instructions in the pdf file were a little confusing. & because the version difference, i had to search around for the menus & tools. However, i am quite satisfied with the end result. But only QUITE, because the sides of my box is...SO STRAIGHT! The process was manageable with given instructions though it took more time at one point where i had to select several edges. The images given were not very clear, so i was a little lost at which edges i had to select. (no wonder the box a bit fail)


Ex2:
Anyways, here's the next box, with a flap hanging by the corner.
(Either i forgot to take screenshots or i forgot to save, because i found only 2 for this exercise)
But the process of creating this box is pretty much similar to the first one so it was fairly easy.
The only new tool required was the Extract function.
After separating parts/flaps, i was free to move & rotate them.
So i left one hanging, & the other fell off.


Here's both my complete boxes!


Added colour! :D


Reflection for Ex2- So for this exercise, it was similar to Ex1 for the process of creating the box.
Again, the selection of edges at one point was tedious. Then after using the bevel tool & smoothing the entire object, then crumpling the surfaces of parts of the box. (This, i achieved, by a little trial & error. I actually, how you say, ANYHOW bend any vertex i can, & i apparently like the results)
I actually prefer my second box compared to the first one. (Although i actually forgot about the torn effect because i kept pressing the undo button!)

Week2 Lab2: Gear Exercise

Gear Exercise:
Here's the gear which apparently i forgot to take screenshots of in any other view.
Following instructions given, i created the pipe & extruded parts of it.


Took time to select the alternating faces.


Easy exercise, using some basic tools. Learned to use a new one here: Extrude.